Monday 5 March 2012

Dal Palak: Spianch cooked with lentils

Dal Palak
 Spinach cooked with lentils


Ingredients
Chana dal/split chickpeas          50 gms
Moong dal                                50 gms
Turmeric powder                       ¼ tsp
Coriander powder                      ½ tsp
Cumin powder                           ¼ tsp
Onion, minced                           1 small
Garlic, finely minced                 2 cloves
Chilli flakes                              ¼ tsp
Ginger, julienne                        1 tsp
Whole cumin seeds                    ¼ tsp
Garam masala                           ¼ tsp
Oil                                           2 tsp
Salt to taste
Fresh coriander, finely chopped  to garnish
A little splash of lemon juice       to serve


Method
Soak the dals in warm water for 20 minutes and boil them together with the turmeric powder, coriander powder and cumin powder. Typically the chana dal takes longer to cook; so, if you are using the open pan method of cooking dal then you will have to first ½ cook the chana dal and then add the moong. As for me, I am using my good old pressure cooker. One pressure whistle does it for me. Remember, soaking dal before cooking is a good way of reducing cooking time J

Coarsely chop the spinach leaves.

Heat 2 tsp of oil and tip in the cumin seeds. Let them splutter (avoid burning though). Add the finely minced onion and sauté until they are light brown in colour. Add the minced garlic and chilli flakes. Sauté for a further minute. Add the boiled dal and mix well. Let it simmer for a couple of minutes.

Now add the garam masala and the chopped spinach. Take it off the heat. Mix well again. Now add the ginger juliennes and garnish with fresh coriander. Before serving add in the lemon juice and mix well.

This dish is a hot favourite in my family. It’s drop dead easy and very healthy. I have had several versions of this dish and I love them all. There’s something very soothing about dal cooked with palak-its hearty and wholesome. I like my dal palak served with plain rice and with a bit of yogurt on the side.


Saturday 3 March 2012

Vegetable biryani: for someone very special


Vegetable Biryani

For the rice, you will need:
Basmati rice, good quality                1 ½ cup, soaked in water for 20 minutes
Boiling water                                     4 cups + extra
Potli or bouquet garni:                 1, consisting of the following items
A small piece of cheese/muslin cloth
Black cardamom        2
Green cardamom        4
Cloves                         6
Black pepper corns    5
Bay leaf                      2
Cinnamon stick          2 inches          
Gather all the four corners and tie it up using kitchen strings/thread
Shaahi jeera/caraway seeds              1 tsp
Salt                                                     to taste

For the vegetable base (about 800 gms in total):
Fresh green peas/frozen peas            ½  cup
1 medium potato                                cut into 6 pieces
Carrot, washed, peeled and cubed    ½ cup
Cauliflower florets                            ½ cup
Close cup mushrooms                         ½ cup
Broccoli                                              ½ cup
Green pepper, cut into large chunks1
Ginger garlic paste (ratio 1:1)           2 tbsp
Kashmiri red chilli powder               1 tbsp (adjust to taste)
Salt                                                     to taste
Yogurt                                                1 cup
Garam masala powder                      1 tsp
Green cardamom powder                  ½ tsp
Brown onions                                    1 cup
Pure ghee, melted                              2 tbsp (+ 2 more if you feeling really great)
Fresh coriander, chopped                  2 tbsp
Fresh mint leaves                              10
Green chillies                                     2, slit
Turmeric powder                               ¼ tsp
Lime juice                                          1

For the layering:
Finely chopped coriander                 2 tbsp
Fresh mint leaves                              3-4
Brown onion                                      2 tbsp (1 tbsp for each layer)
(Brown onions: can be bought from Asian groceries or use home made)
Garam masala                                    1 tsp (1/2 tsp for each layer)
Green cardamom powder                  ¼ tsp
A few strands of saffron                    soaked in about 40 ml warm milk
Ghee                                                    2 tbsp
                                                           
Method:

To prepare the rice: Put some water in a large open mouth pot and add the potli/bouquet garni, 1 tsp of shaahi jeera or caraway seeds, and salt. While the water boils. Marinate your veggies.

For the vegetable marinate: Tip in all the ingredients as listed (under 'for the vegetable base). Mix the vegetables with the spices and yogurt very gently. At the end, add ¼ tsp turmeric powder and juice of 1 lime. Mix thoroughly again leave it to marinate for at least ½ hour.

In the meantime, let’s cook the rice. Drain the soaked rice well and add it to the boiling fragrant water. Stir. The trick here is to make sure that the rice is not over cooked. I drain the rice when it’s about a ¾ done. You can keep the rice half done; as the whole point here is to steam the rice with the vegetable, so that it can absorb the aromas and the juices of the marinating vegetables. Overcooking or adding fully done rice to your marinate will only lead to a mushy consistency; which is not desirable in a biryani dish. 

The next step is assembly of the two dishes: the veggies and the rice: For that take a wide mouthed pan (something like a handi or dekchi). Brush the inside of the pot with some ghee and tip in the vegetable mix. Now start adding the half done rice on top of the veggies. Use half the rice for the 1st layer. The remaining portion will be used in the next. On top of the 1st layer, sprinkle the following ingredients:  2 tablespoon of chopped coriander, 3-4 mint leaves, 1 tbsp brown onion, ½  tsp garam masala powder and ¼ tsp green cardamom powder. Do not mix these spices and herbs. Sprinkle evenly and let them be as they are.

Now bring in the remaining rice. Add a layer of it (Leave out the potli/bouquet garni; the flavours of the same has already been incorporated into the rice). To top up, sprinkle 1 tablespoon of brown onion, ½  tsp of garam masala and saffron soaked in warm milk. Finally, spoon in a couple of tablespoon of melted ghee around.

To cook, you will need something to seal the lid of the pan. I use aata (flour dough); however, if you want, go ahead and seal it up with aluminium foil. Just ensure that they are no gaps for steam and aromas to escape. This process of sealing is really important and is usually referred to as 'cooking at dum'. For best results I'd always seal with aata (flour) dough. 
To seal with dough: take the dough and mould it in the shape of a thick string (or a rope, not very thin though). Now stick this along the edge (the rim) of the pot. Put on the lid and ensure that it is sealed by the aata dough. Keep some extra dough handy; during the steaming process if you see steam escaping, then use a little to fill in the gap. I love this process; its like playing with play dough again J

Next up, on medium heat, let the biryani cook for 8-10 minutes. Reduce the flame to minimum and continue cooking for another 15-18 minutes. If you think the vegetables are going to burn at the bottom of the pot; fear not :) help is at hand. A simple trick does it : take a griddle or a tawa… Put the pot on top of it and then put the tawa (with the pot on top) back onto heat again. In this method the heat is only indirect and is an amazingly safe way to slow cook. 

So, that's it. I love the way the aromas of the biryani floats around by kitchen now... That's what makes it so appealing. The moment of truth is in eating it though :) 

Your scrumptious biryani is ready. A good biryani is that which has perfectly steamed rice; and most importantly the grains are separated. To serve: open the lid; do not mix but serve it like the way you would a lasagna. I find that a spatula is the best tool to serve biryani. Ensure everyone gets a good helping of the amazingly moist veggies and the fragrant rice.

Biryani goes very well with onion, cucumber and tomato raita!

Post script: Biryani as a dish is definitely a royal treat. Initially I was under the assumption, that, ‘It’s best left to the professional chefs.’ However, the truth is: biryani preparation isn’t rocket science. If at all it was so tough as a dish; it wouldn't have survived through centuries in the Indian sub-continent. I am not sure what the fuss is all about preparing biryani at home... if at it's really exciting. 


Talking of the fuss again: I am sure it is not in preparing 'half done rice'. All the cooking it really needs is  par boiling the rice: which takes about 7 minutes (from scratch); steaming the assembled dish (takes me 10+15 minutes). So, that's a little over 30 minutes of actual cooking time (Technically, my favourite brand of pre-made pizza takes 20 mins in the oven)! Preety decent actually. What takes time in biryani preparation is perhaps gathering all the ingredients and assembling the dish. But then, having said that, it is a one pot meal .. If you are using the right ingredients it is a very healthy option (unless you start eating it everyday). So, go for it and wow people with your very own biryani dish J

(I hope you like this one: especially ‘P’ and ‘S’ J , Watch this space for the pictures of my very own biryani)

Update:
5th March, 2011, Monday

As promised, I am getting back with a photo story of my own biryani. Today's dish is totally dedicated to 'K' ...well done!! Loads of love too :)

Bouquet garni or Potli

Caramelised brown onion

Mixed vegetable marinate

Potli, shaahi jeera, salt & a tad bit oil goes into the water; and then set to a rolling boil

Half done rice done

Marinate veggies in form the base layer

That's the rice layered-all done. Sorry I messed up the photograph of the 1st layer :P

The dough in place. I have a little extra dough to seal the steam hole on the lid 

Ah! that's the lid sealed and the pot placed on high heat for 8 minutes and then further cooked on low for 17-18 mins

..................In the meantime; while the magic conjures in the pot; I am cracking with the raita

That's minced onion and cucumber; a little sprinkling of chopped spring onion. I am using low fat Greek yogurt... a couple of good dollops

Raita done. Not seasoned yet; this goes into the refrigerator and comes out once the biryani is plated. I can't stop staying: I just love the tangy crunchy raita with the delicate biryani :)

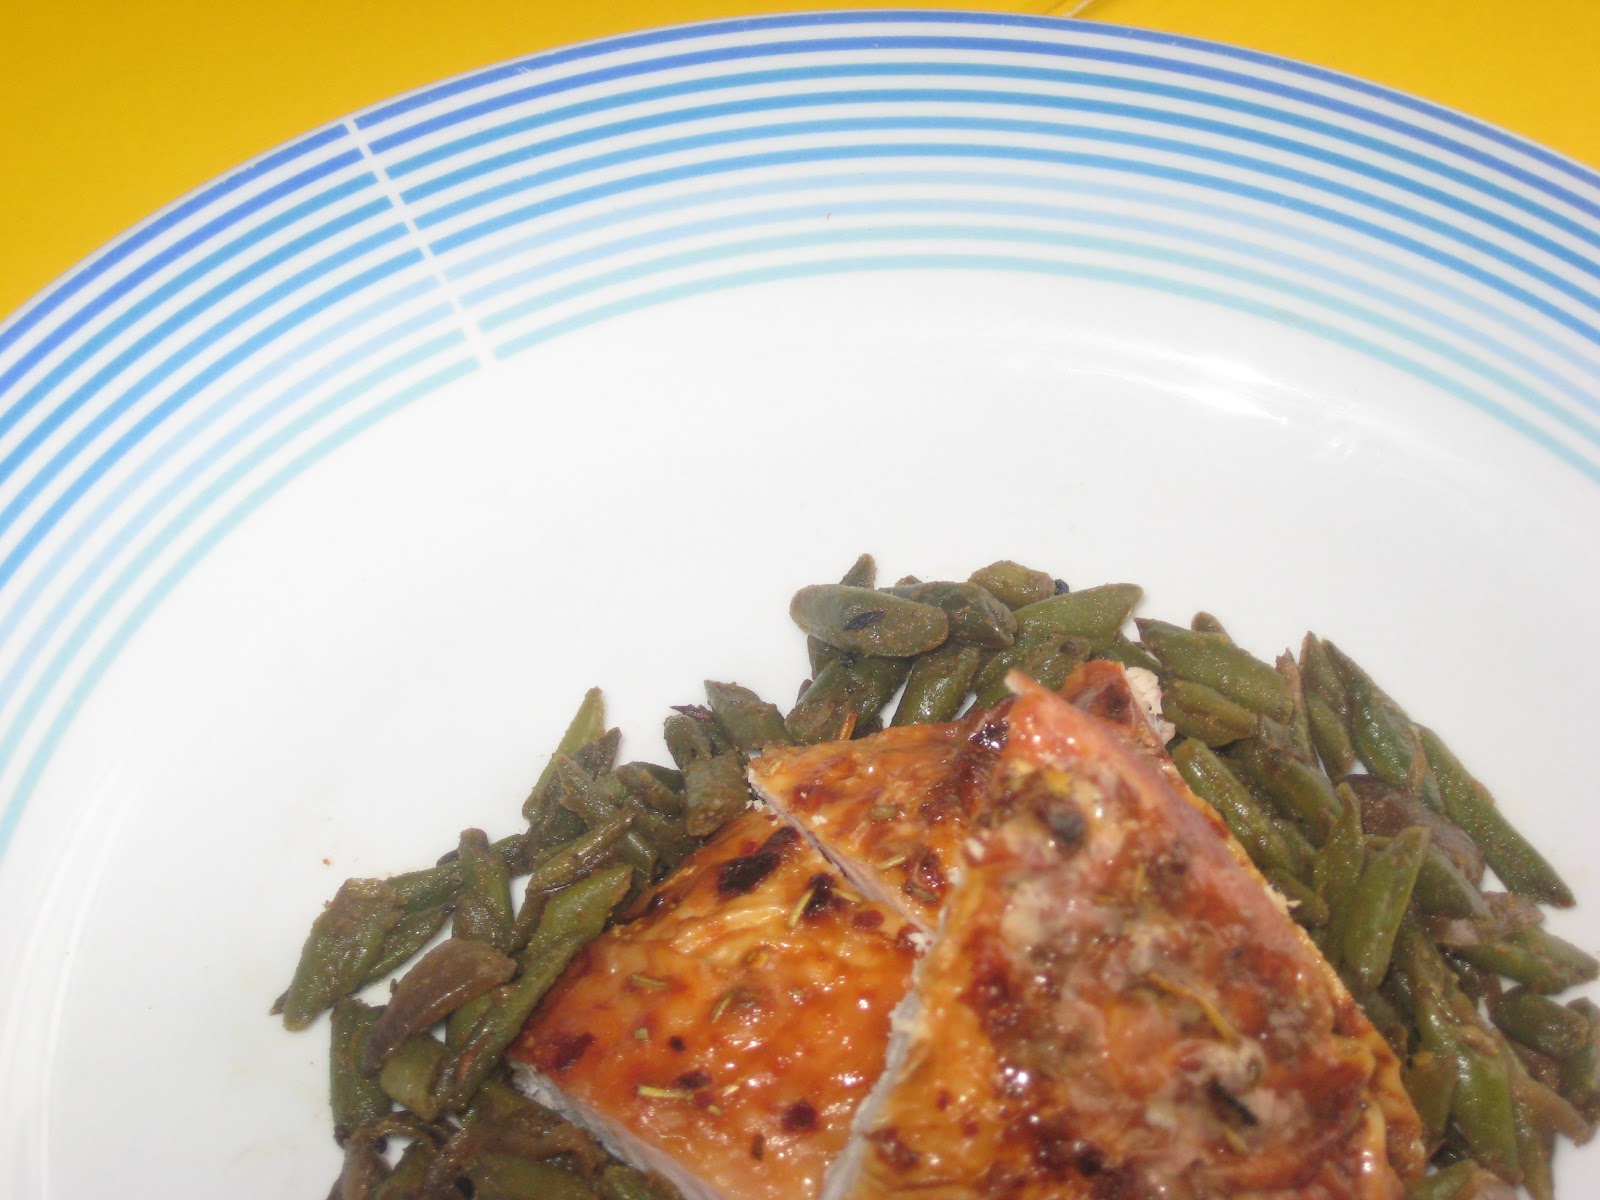
That's the labour of love... !! Vegetable biryani served with cucumber & onion raita. 

Folks, mission accomplished.... Hope you enjoyed the photo story & make sure you try it out... I'd love to hear from you :)

Much love
Maverick cook :)

Friday 2 March 2012

The Really Easy Chicken Roast


The Really Easy Roast Chicken

This recipe is an oldie. I have tried so many methods; however, this stands out given its simplicity.
A step-by-step recreation of my favourite roast.

Whole chicken                 2 kg (approximately)
Butter                            2 tbsp
Dried rosemary                1 tbsp
Whole onion                   2 medium
Lemmon                          1
Chicken stock cube          2
Coarsely ground pepper    1 tsp
Red chilli flake                ½ tsp
Milk                               50 ml (approx)
Water                            250 ml (boiling water)
Whole garlic cloves         4

Method:

Untie the chicken; spread out its thigh and wings. Wash and pat dry whole chicken. I am leaving the skin on for this one.
Run boiling water onto the chicken flesh. Pat dry again. This process helps in crisping the skin (also used in roast duck recipe). Wack the oven to the highest temperature (or approx 250 degree C)
In a small bowl crumble up the chicken stock, add the rosemary, red chilli flakes and ground pepper to this. Give it a light mix. Now add the butter and mix well.
For the stuffing, insert the onions, garlic and the lemon into the chicken’s cavity
Now run the butter mixture on to the skin in the chicken, ensuring every nook and corner of the bird is coated.
Butter the roasting tin. I am using a cast iron grill pan (this is my trick). The ribbed pan ensures chicken is cooked from all sides evenly.
Place the roasting tray into the oven. Immediately lower the temperature down to 190 degree C
Baste the chicken with milk every ½ hr or so
Roasting time: 1hr 45 mins (maybe a tad more, depending on your oven)
At the end of the cooking time; leave the chicken in the tray to coo down (10 minutes)
Transfer to a wire rack and rest for another 15 minutes before carving. 

Half an hour into cooking time
Almost at the end of roasting time
Fully done roast chicken
Roast breast of chicken served on a bed of sautéed  green beans

Wednesday 29 February 2012

Fish cakes & tales of accidenteley by chance


This world is the size of a golf ball. Well, not literally. Nevertheless, true…
Received this call from an unknown number last week (around late afternoon) and while I answered the call; I had the least idea of what could follow next. The voice asked for me with an air of acquaintance. Too good to be a cold sales call; yet it took me a while to realise where this was coming from.

The voice started introducing himself… helping me rake up a fuzzy picture of the past. A short walk the memory lane, I soon realised this voice this voice had a name; and the voice personified was a long lost, dear buddy from high school. That voice was that of ‘V’. 

The last time we had seen each other was 16 years ago; the day of our convocation. I couldn't have been more pleasantly surprised that he made an effort to re-connect. A long conversation followed… the usual like: how, where, when etc. It so happened that he was here in my city for some work; during which he had almost by chance met my husband ‘KD’ at a conference the very same day and had re-discovered my ‘being’. This call was meant to be a surprise and what a beautiful and memorable surprise this has been.

The meet up (although very short) was a real treat. Settled in Mumbai; 'V' family is a gorgeous one with a beautiful wife and a 2 year old daughter. A gentleman to the core; 'V' works as a  financial economist (Funny, I told him as; he had once told my best friend's father that he wanted to become 'a karate kid'. He took the film rather seriously at that point in time) and as I learn now; he has met ‘KD’ once before, but never had a chance to chat up.


You see a situation like this can spark off areas in your grey matter you'd long thought never existed... the lunch time plays, mischiefs and young broken hearts. I was curious to know what he'd be up to, was he in touch with others from the gang etc... and more then anything I wanted to know what about his 'then' well-known fetish with his hair (during one inauspicious days he was famously caught by our dreaded physics teacher ‘Mrs. B’ gazing at his reflection in the window panes and combing his hair to give it the John Travolta like raff). I still remember Mrs B's look (bit of a black hole really). She was always known for her chalk piece aiming ritual. she would break a chalk piece into manageable size and aim at students; hitting them either on their shoulders or hands. The force of that hit being determined by her outburst. 'V' got one that day! 'Hit him like a missile'-as he puts it today. That seems like a by-gone era: He is clean shaven now! I was told his hair couldn’t live up to his expectations. Genetics played its part in a recession (at least in his hairline). With or without his hair; I bet, I couldn’t have recognised him and vice versa had it not been the way we did. 

‘V’ has been travelling around this country for the past 2 weeks and would be heading back to India then following morning. However, the good news is he’d be back in July with his wife and kid for a holiday. I look foreword and have extended an invitation to the couple to come and stay with us.

This incident, I recon, is what they say: Accidentally purposeful J

Speaking of which… I have another one for you. This time it’s about ‘Smoked haddock’. You would say, ‘What a shift from ‘V’ to smoked haddock?’ Well, you will see it’s all a part of the ‘accidentally purposeful’ scheme of things J
The dinner plan options were-
‘V’ arrived by at almost dinner time…
‘V’  loves fish
‘KD’ proposed eating out at this amazing sea food restaurant (which we recently discovered)
‘V’ recons ‘Why not order something from outside?’
I am thinking: What’s in the fridge?
Some smoked haddock, a few fiery spices and a couple boiled potatoes.
Problem solved: I could do up something at home and in no time.

2 hrs on… we are done with dinner. Lovely company, home made food, raked up lost childhood memories and a couple of beers to wash down the food… it was fun. As gracious as he is, ‘V’ sent in a text latter:

‘Just a humble thanks for a great evening. Fish cakes, chips, a few cans of beer and in the company of two great friends… a stay in a foreign land couldn’t have got friendlier’


My Fish Cake Recipe

Ingredients

Smoked haddock fillet                350 gms
Milk                                          200 ml
Bay leaves                                 2
Cloves                                      2
Shallot, finely chopped               2 tbsp
Spring Onion, finely chopped      1 tbsp
Fresh Coriander, finely chopped  1 tbsp
Waxy potatoes, boiled and peeled 100 gms
Lemon juice                               2 tsp
Mayonnaise                               120 ml
Eggs                                         2 +1 more for coating the fish cake
Red chilli, de-seeded, minced      1 tsp
Mild curry powder                     ½ tsp
Garlic, finely minced                  2 cloves                                            
 Bread crumbs                           200 gms + a little more
Ground pepper                          ¼ tsp (optional)
Oil                                 
Salt, to taste

§        In a wide mouthed pan, bring the milk to simmer. Reduce heat and add the cloves, bay leaves and the haddock fillet. Let it simmer again (uncovered for 4 minutes or so). The haddock fillet should start flaking. Take it off the milk; remove the skin (if still intact) and let it cool. Flake the flesh in a large mixing bowl.
§        To this add the mash potatoes, red chillies, shallots, fresh coriander, spring onions, 2 whole eggs (lightly whisked), curry powder, pepper (coarsely ground, if you are using), garlic mince, mayonnaise, lemon juice and about 2 tbsp of the bread crumbs. Mix well and rest in the fridge for 10 mins.
§        Check seasoning now. Divide into equal portions.
§        Whisk up an egg (you might need more, depending on the size of the eggs you are using). Add 2 tbsp of the milk (we used to poach the haddock fillets) and whisk again. In another platter spread out the breadcrumbs. Preheat oven to 170 degree C (fan oven)
§        Coat the fishcakes in the egg mix and then coat well with breadcrumbs. Sometimes, I repeat this process. But for today, it going to be just one coat.
§        Spray cakes with oil and bake, turning them every ten minutes. Should take about 25-30 mins

Enjoy this healthy, easy to make dish with sides of cucumber and yoghurt salsa. 


....................To good times. Maverick Cook :)

Monday 27 February 2012

Pan-fried Fresh-water Rainbow Trout served with Beans and Pistachio


If you like seafood; it’s almost guaranteed you will love the rainbow trout. It’s widely farmed these days and easily available at the fish mongers and super-markets. 

A few years back I was in Paris and happened to eat in one of the city’s best seafood brassieres. Really quirky, old world charm set-up; the restaurant’s menu was, if I may say, short and simple. No pretensions and frills; all it said was the name of the fish, the cooking method (i.e., baked, grilled, sheared etc) and of course the price. I know what you are thinking… must be a killer? 

Actually, thinking about it 40 Euros (If I remember right... must have been excluding wine and dessert); but then given the quality of food, the ambience and the trip down history's lane (Julia Child was here)… all compensated for the lightness in my pocket. It’s been years now; and today as I was rummaging through my photo albums, I remembered Paris again. So, what do I do? Well put on my overcoat, rush down the lane and get myself some nice, fresh rainbow trout. Yes, that’s what I had at that restaurant! (I had oysters too; but that’s for another day) 


For this recipe I am using:
Rainbow trout fillets                     2
Black pepper, coarsely ground   ¼ tsp
Sea salt                                             ¼ tsp (adjust to taste)
Butter                                                1 knob
French beans, trimmed                a good handful
Pistachios, chopped                      1 tbsp
Vegetable stock                              70 ml
Mix salad leaves (as you like)     a few fistful (rocket, baby spinach+ plum tomatoes)
 
§        Trim the ends of the beans. Keep the beans about 2 inch long. Blanche the the green beans (3-4 mins; more if you like your veggies on the softer side). Drain them and set aside. Add a teaspoon of butter in a pan and sauté onion and garlic till just about translucent. Tip in the green beans. Mix well to coat beans with the aromatic butter. Add a splash of the vegetable stock and cover. The beans should cook in about 3 minutes. At the end of the cooking time taste for seasoning. Now tip in the chopped pistachios and sauté uncovered for a minute or so or until the liquid evaporates. The beans should be crunchy but not undone.

Rainbow trout: sunny side up!
§        Next up, heat the remaining butter in a flat skillet. Season the fish fillets with sea salt and pepper. Once the butter turns foamy, place the fillets onto the skillet skin side down. It should take about 3 minutes for the skin to crisp up. One trick that I can share here is that, you need to lay your hand off the fish once it touches the pan. Let the fish be… moving round the fillet in the pan during this process will only lead to a soggy skin. Besides, the heat has to be constant at medium. I usually fry skin side down for around 3 minutes; if you like make it 4 minutes… but it’s not entirely necessary. The cooking process doesn’t really stop once you take the fish off the heat. On the contrary, over cooking fish leaves it's flesh all  rubbery. To keep the flesh side extra mosit while the skin is crisping up; I drizzle a little olive oil on the top.

§        Flip the fish carefully and cook the other side for another minute or so. Take the pan off the heat and transfer the fish to a plate. Cover to keep the fillets warm.
§        This dish needs to be savoured as soon as the fish is done. Quickly dish up. Make a mound of the green beans, place a rainbow fillet on the top of the mound and drizzle it with the residual butter from the skillet. Top it off with salad leaves.

The dish looks good and tastes even better (more so because you know it’s very healthy). [My photography skills doesn't do any justice to the real splash of colour on the plate :( ] I served it with sides of garlic bread… Yummy!!

Hope you try this recipe out.  Rainbow trout is quite a firm fish and takes flavours well; however, being a fish lover, I like to keep the seasoning to bare minimum. Besides, the sautéed bean with the pistachios gives a real crunch to this dish. The salad with the plum tomatoes adds a bit of zing.

Dishing it up..... 

Sautéed green beans with pistachios

Fishy Top-up!
Pan-fried rainbow trout served with green beans and pistachios

Bon appetite!
………….The Maverick Cook J